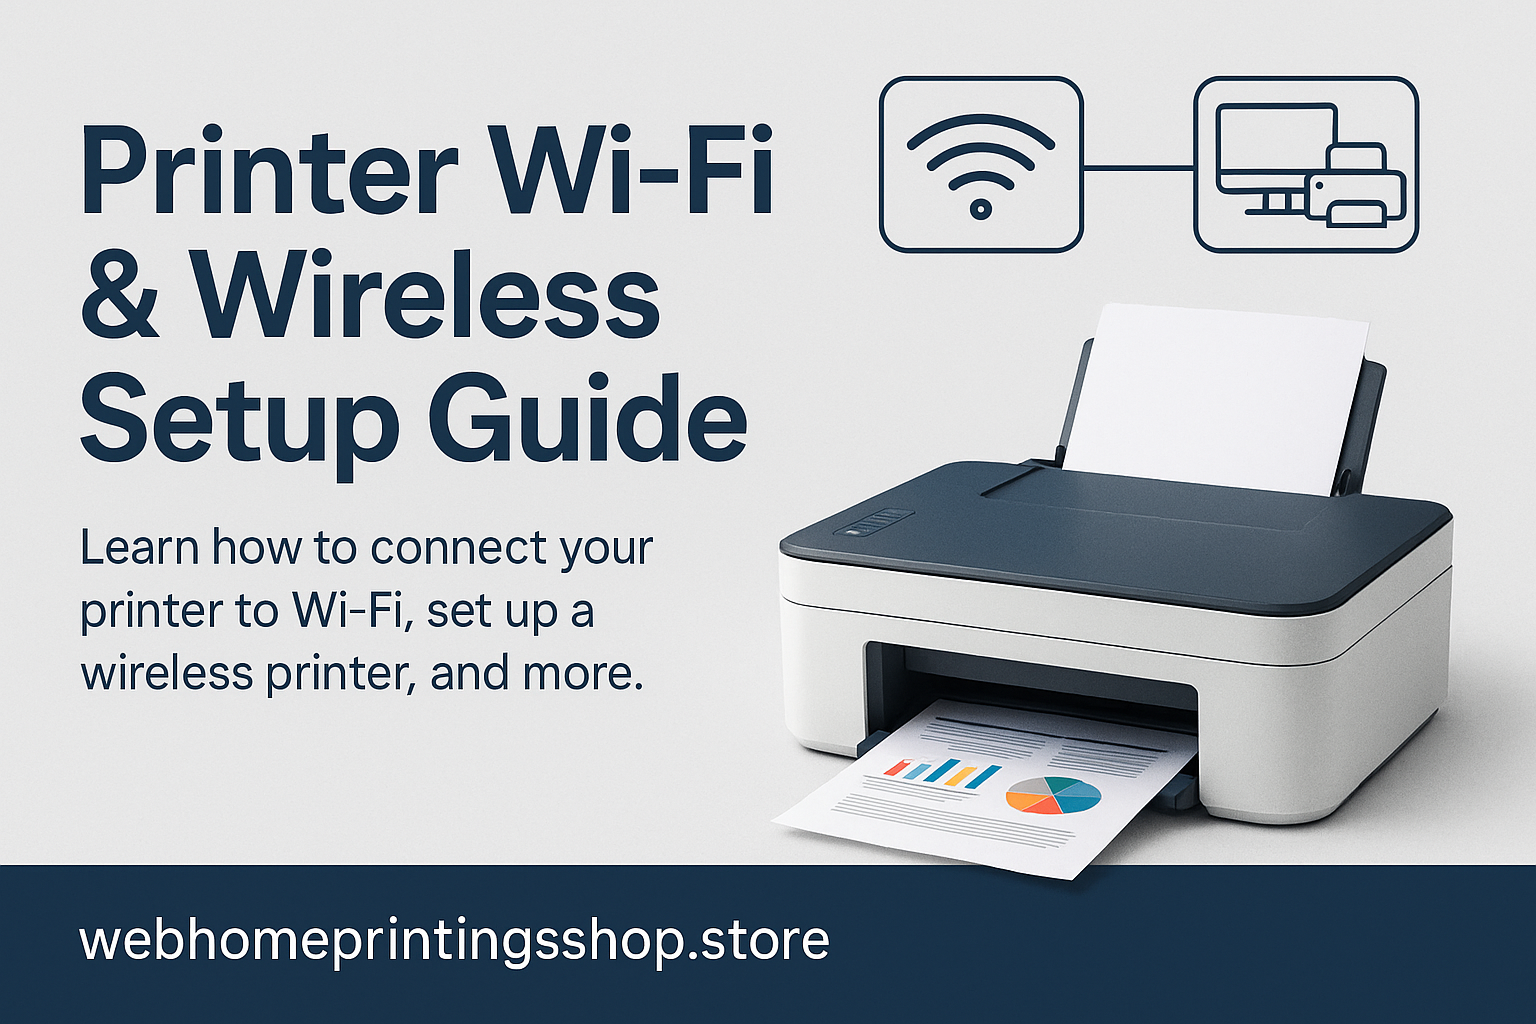
Step-by-Step — Connect a Printer to Wi-Fi
These are general, manufacturer-neutral steps. If a step prompts a download, only use the manufacturer’s official support page linked from our Official Support page.
Before you start
- Printer is plugged in and powered on.
- Your Wi-Fi router is connected and working.
- You know your Wi-Fi network name (SSID) and password.
- The printer is in range of the router (same room or nearby).
Wireless setup — typical flow
- Power on the printer and wait until it shows a ready or idle status.
- Open the printer's control panel and find Network or Wireless settings (look for "Wireless Setup Wizard").
- Choose your Wi-Fi network (SSID) from the list of available networks.
- Carefully enter the Wi-Fi password (case-sensitive).
- Wait for confirmation — a solid Wi-Fi indicator or "Connected" message.
- On your computer or phone, add the printer from Settings → Printers & Scanners (or using mobile print options).
- Print a test page to confirm everything is working.